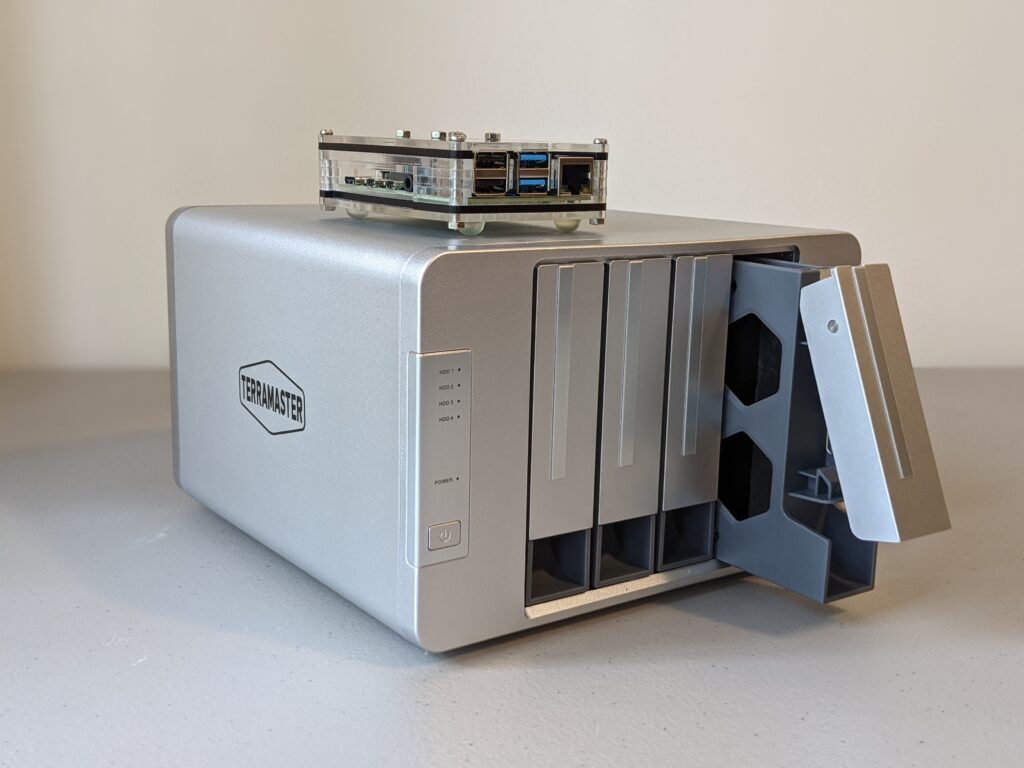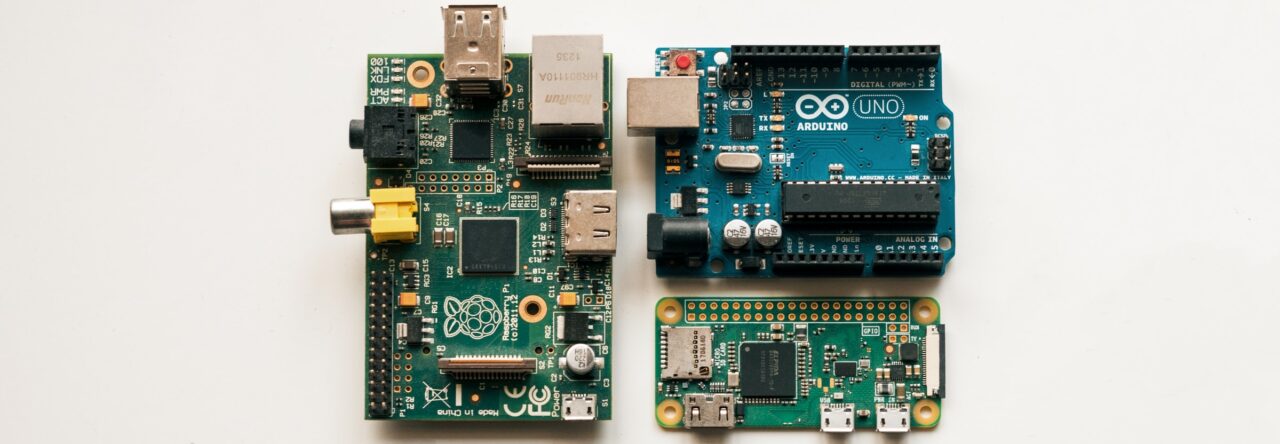
The hardware running the project!
When choosing the hardware for the Raspberry Pi Project, I wanted to choose hardware that was easy to acquire, easy to use (doesn’t require building a computer), and had a good cost-to-performance ratio. Before we dive into the exact hardware I chose, here is a quick summary of the hardware you would need to build a similar project (the exact parts I ordered are summarized at the end):
- Raspberry Pi 4 (Model B) 8GB
- Any Raspberry Pi 4 case & power supply (USB-C)
- Any 32GB or greater microSD card (boot drive – doesn’t need to be large)
- Any USB 3 external hard drive enclosure (recommend TerraMaster offerings)
- Only needed for initial setup: A separate computer, SD card reader, mini-displayport to HDMI cable, monitor, and keyboard
Alright, let’s jump in!
System: Raspberry Pi 4 (Model B) 8GB
I chose the Raspberry Pi 4 8GB because it is one of the most widely available single-board computers (SBC) on the market, and it provides quite a lot of power for its cost. In addition, because it is so widely used it is also easy to find documentation and help from the community, which makes it perfect for beginners to self-hosting!
Case: Miuzei Case for Raspberry Pi 4
I chose the Miuzei case because it’s cheap, well put-together, and comes with heatsinks and a fan to cool down the processor and memory. We’re going to be pushing the Raspberry Pi to the limits – we want to make sure everything stays cool in doing so!
Power Supply: CanaKit 3.5A Raspberry Pi 4 Power Supply
I chose the CanaKit power supply because it’s cheap and provided by an authorized reseller of the Raspberry Pi 4. Can’t get much better than that!
MicroSDXC Card: Samsung EVO Select 64GB
I chose the Samsung EVO microSDXC card primarily because it was cheap, fast, and had more than enough storage to run the operating system. You could get by with a smaller-capacity card as well – 64GB is overkill, but at the time I was purchasing hardware for this project, it was the smallest-capacity option in stock.
External Hard Drive Enclosure: TerraMaster D4-300
I chose the TerraMaster D4-300 because it was the most cost-effective, well-reviewed item in its category that I could find. It also seemed simple to use, with just a single A/C adapter and USB C cable. This option doesn’t include onboard RAID functionality, which isn’t needed (we will configure OpenMediaVault with software RAID), and also makes it a bit simpler for beginners to self-hosting – no need to remember to choose JBOD when setting it up!
Hard Drives: 4x Western Digital 1TB WD Blue HDD
I chose to purchase four 1TB WD Blue hard drives because they were the cheapest option I could find in-stock at the time – and for me, this is a hobby project. I have two separate NAS (network-attached storage) systems already. Which hard drives to get will depend greatly on your individual storage capacity needs – I’ll discuss the different RAID levels later on, but keep the following in mind: if you follow my recommendations, you’ll lose 1 disk of capacity if all your disks are 2TB or lower, and 2 disks of capacity if your disks are larger than 2TB. Additionally, if this is going to be your primary NAS appliance, I would recommend choosing disks rated for NAS activity – WD Reds, Seagate Ironwolfs, or equivalent. This isn’t a hard requirement, but I’ve had much better longevity out of my NAS disks than disks that weren’t rated for NAS activity.
Here is a summary of the hardware purchased, along with links:
- System: Raspberry Pi 4 (Model B) 8GB
- Case: Miuzei Case for Raspberry Pi 4
- Power Supply: CanaKit 3.5A Raspberry Pi 4 Power Supply
- microSD: SAMSUNG EVO Select 64GB microSDXC
- External Hard Drive Enclosure: TERRAMASTER D4-300 USB 3.1(Gen1) Type-C Storage
- Hard Drives: 4x Western Digital 1TB WD Blue PC Hard Drive HDD
If you’re ready to see how to set up the hardware and configure the Raspberry Pi with OpenMediaVault, head on over to Part 2 – Hardware Setup & OpenMediaVault Installation (coming soon)!

Robert
is Part 2 still in the works? ty
Nupa
Looks like a good start! I’ve been skeptical of using OpenMediaVault, it feels a bit janky and not beginner-friendly, so if it works for you I’d love to know how you did it!